There are no rigorous processes for installing solar lights in the ground. Install the solar light stake and slip on the light post fixture.
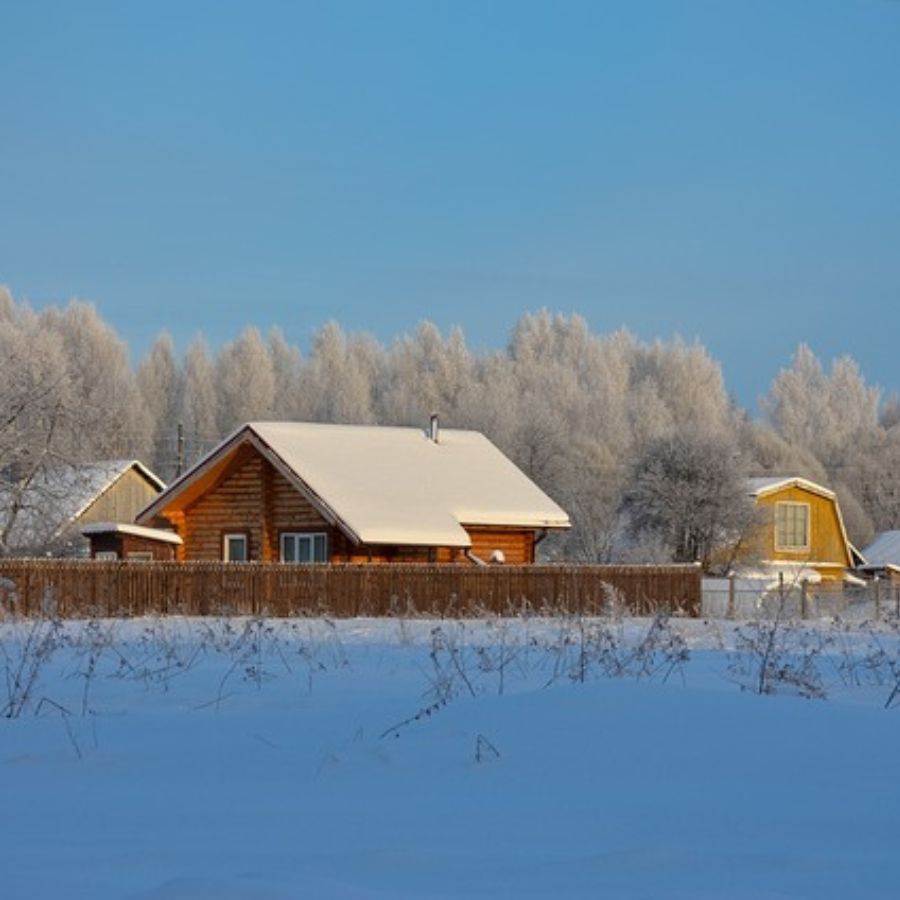
When it comes to outdoor lighting, solar lights not only brighten up your garden, but they also offer more benefits to your environment on a long-term basis. Besides the illuminating effects, the lights are cost-effective and add to the aesthetic appeal of your home.
Most outdoor solar lights serve as security lights within the environment. You can never get it wrong on your quick backyard project with our guides on installing solar lights in the ground. Keep reading to learn more.
General Operations of Outdoor Solar Lights
Outdoor solar lights, or solar garden lights, are small lights meant for the outdoors and surrounding houses. When used for landscape lighting, outdoor solar lights can illuminate and beautify outstanding landscape features within your garden.
They are manufactured with photovoltaic cells at the top of the light panel to absorb sunlight during the day. Subsequently, solar energy is converted to electricity for illumination during the night.
Also, a solar light comes with a battery to store the solar power for the lighting system. Solar lights feature photoresistors that measure the intensity of light. The photoresistors indicate both the presence and absence of light. They will automatically turn ON the LED light at night, using the energy in the battery.
Once it’s dawn, the photoresistors will detect the presence of sunlight and turn OFF the LED light. Then the solar panel will absorb the sun’s energy to charge the battery again.
The day’s weather affects the duration for which the battery provides light during the night. For an ideal sunny day, the battery of the solar landscape lights could last for 12 to 15 hours if on a full charge.
With other factors being constant, the maximum charging period for solar light batteries is around eight hours of sunlight.
How to Install Solar Lights
Solar lights are easy to install without rigorous processes or special technicalities. It’s a simple DIY project for anyone to try.
Here are some of the steps to installing solar lights.
Step 1: Choose Your Solar Lights
The first thing to do for an outdoor solar light project is to choose the type of lights to install. Your choice will have to depend on several factors. First, you will consider your budget for the project to ensure that you are not going overboard.
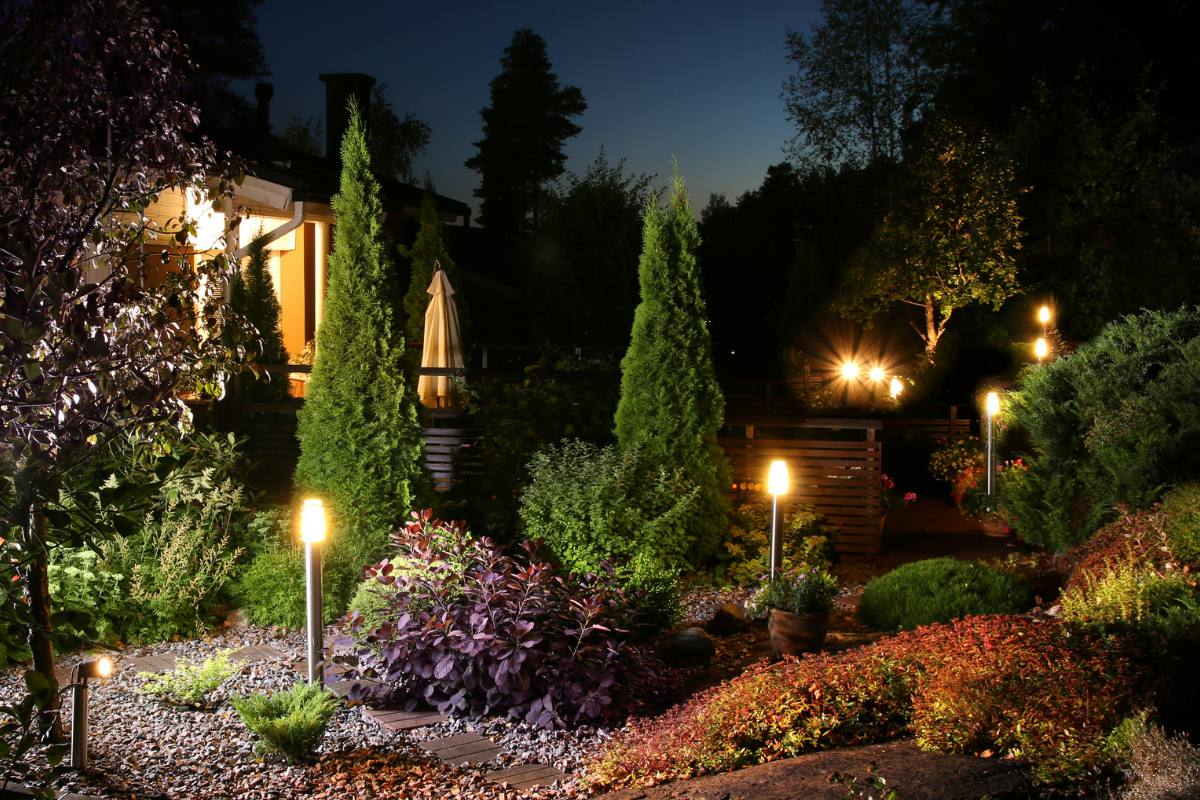
The landscaping features of your garden or backyard will also affect your choice. Solar landscape lights are not just for lighting but can improve the overall beauty of the environment.
Some bollard lights are great options for illuminating the pathways and other strategic points outdoors. But when you desire special decorative touches and a festive outlook, the solar LED fairy lights or string lights on trees will do the magic.
Step 2: Locate The Lighting Spots
The installation spots for the landscape lights play a major role in the lighting. An ideal spot should allow the landscape light’s solar panel to get sunlight without obstructions. So, the solar panel shouldn’t be under any shade within your yard.
If you choose some spring lights, you should hang them on tree branches with adequate sun exposure. This will ensure the appropriate amount of sunlight for the solar panels.
Step 3: Pre-Charge The Solar Lights
New solar garden lights require a minimum of 10 to 14 hours of charging before installation. So, charge the new solar lights under direct sunlight before installing them. You can keep them in a sunny place for at least two days to ensure the batteries are fully solar-powered.
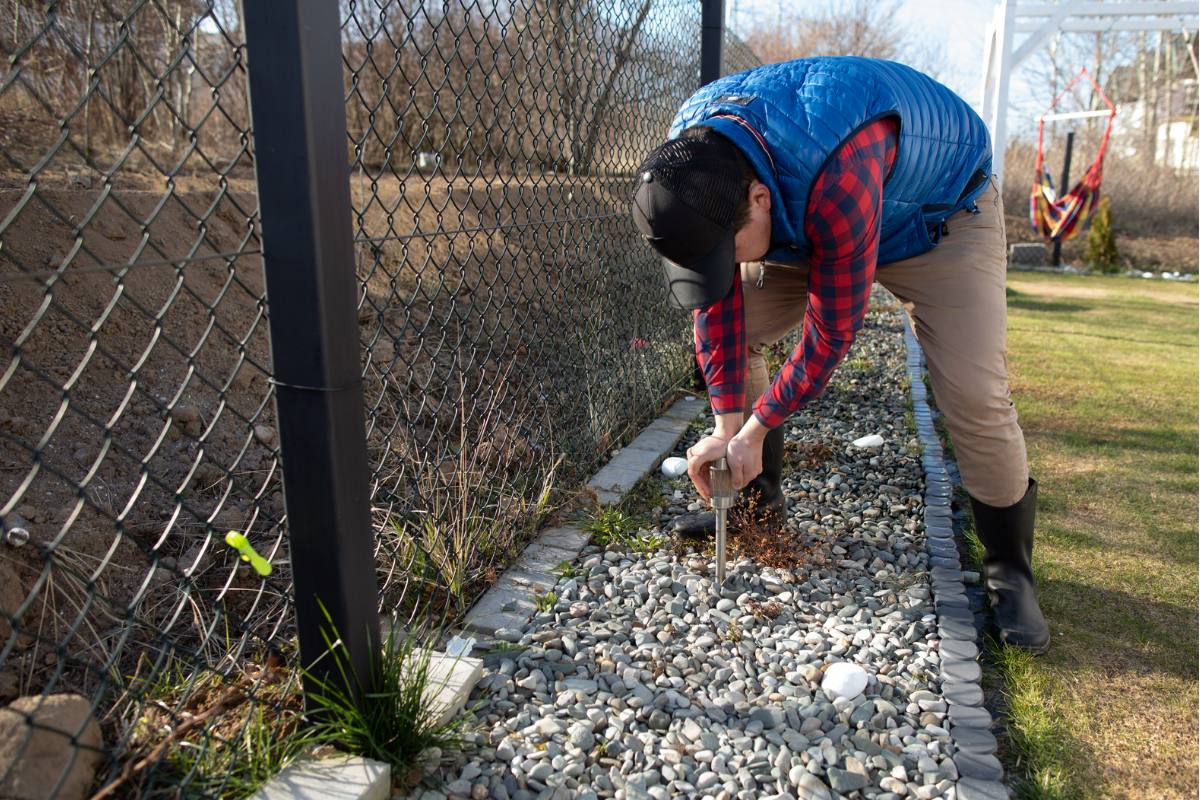
Step 4: Install Foundation Stakes
A foundation stake comes as a part of the solar light package to hold the light post. Install foundation stakes into the ground by tapping them with a hammer and attach light posts on the skates. Then fit in the light component properly on top of the post.
If the ground is hard for easy staking, it will need prior preparation. First, water the ground to soften the soil surface. Then till the ground with a shovel or hoe before installing the foundation stakes.
No wiring, switches, or timers are required in the solar light fixtures. You can create the right outdoor space without worrying about running wires and switches for the landscape lights.
Step 5: Ensure Solar Panel Gets Full Sun Exposure
Solar-powered outdoor lights require at least eight hours of direct sunlight. So, ensure that the solar panels have minimum obstruction of sunlight, especially at noon when the sun is at its peak.
The panels should be away from tree and house shadows during the day. The batteries can illuminate for 12 to 15 hours during darkness with a complete charge.
Step 6: Use Remote Solar Panels Where Necessary
If you have many trees and flowers within your landscape, you will inevitably have shadows over the solar panels. This will limit the light intensity and hours of the solar garden lights.
So, it’s best to use remote solar panels for a partial or full shady landscape. Also, you will need a remote panel if you’re using string lights as decorative landscape lighting. This is because the light component will be on some branches of trees within your lawn.
When installing lights, the remote solar panel becomes a priority. Position the panels to absorb sunlight to keep the batteries fully charged. Remember, you will need wires to connect the remote panels to the lighting component.
Solar garden lights are great landscaping lights that illuminate and beautify your yard and surroundings. The lights are easy to install as they have the necessary mounting hardware. So just follow the processes we’ve outlined above.
Usually, outdoor solar lights are more cost-effective than ordinary lights since they require solar charging for the cell batteries. But remember that the solar panel should be under direct sunlight to ensure the lighting functions optimally.